Getting Started with Stripe
Setting up the Stripe Looker Studio Connector is simple and should take only a couple of minutes. First, you will need to create an Epilocal account so you can link your Stripe account to the platform. After that, you will be able to access your Stripe data in Looker Studio.
Linking a Stripe account to Epilocal
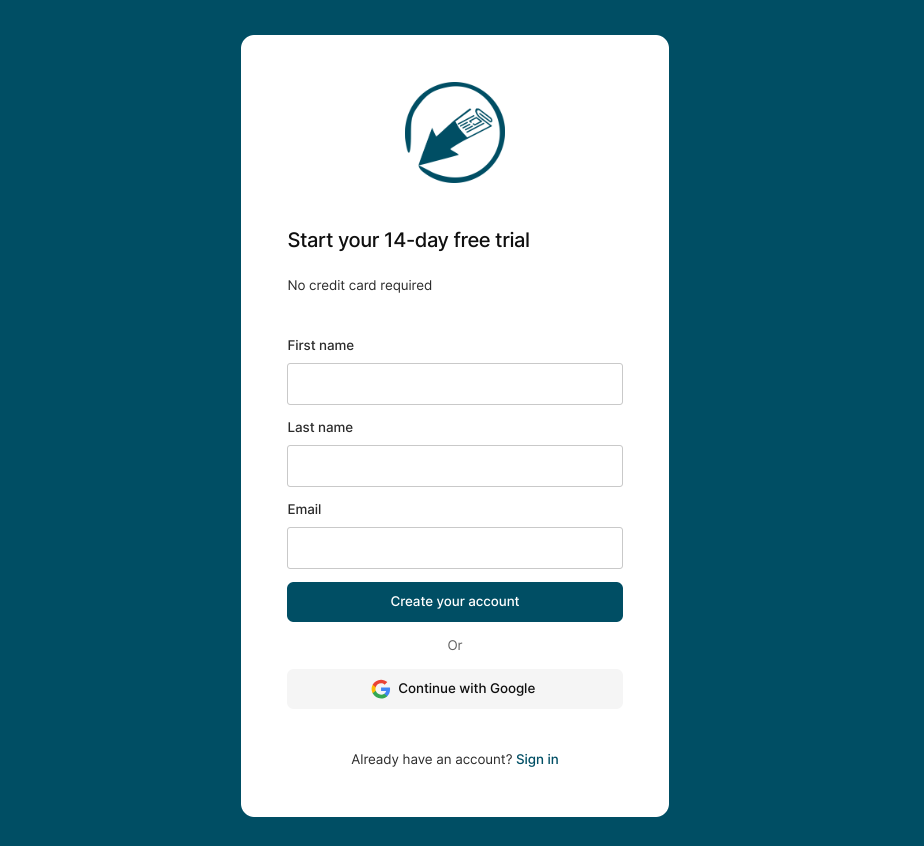
1.) If you do not already have an Epilocal account, create your account and start a free trial here.
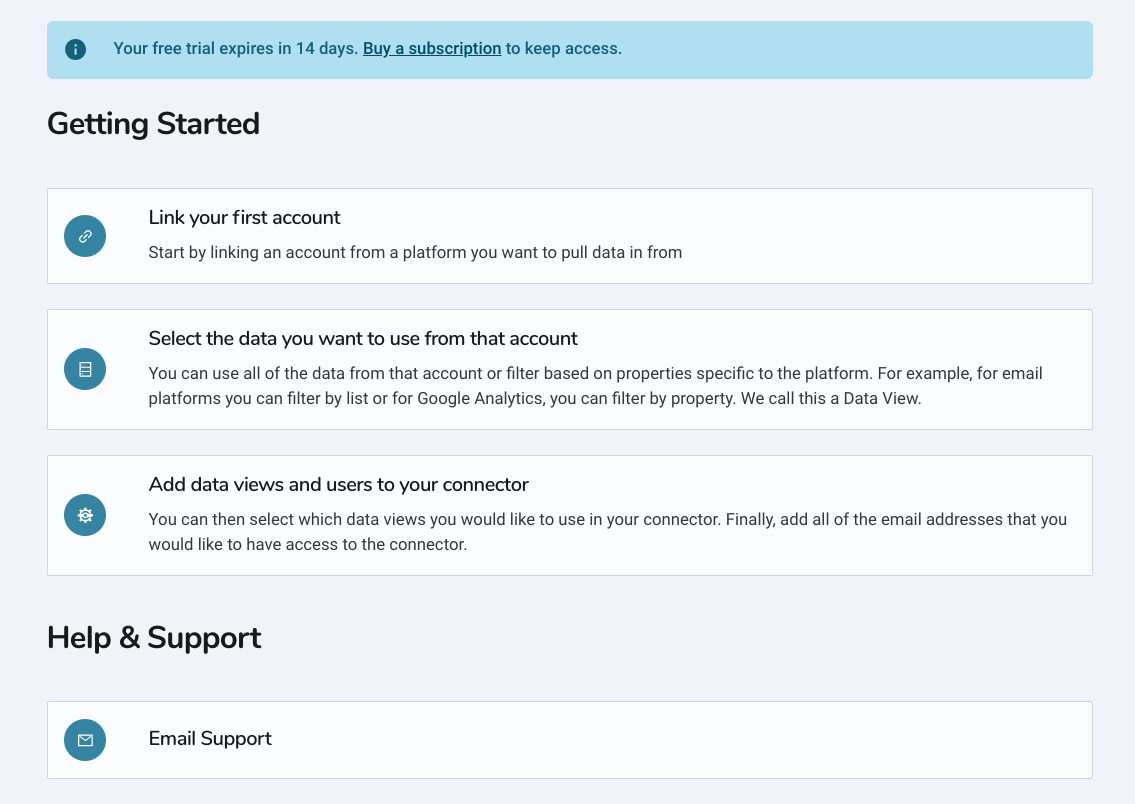
2.) Once you've created your Epilocal account, you will see your dashboard that gives you an overview of the steps required to get started.
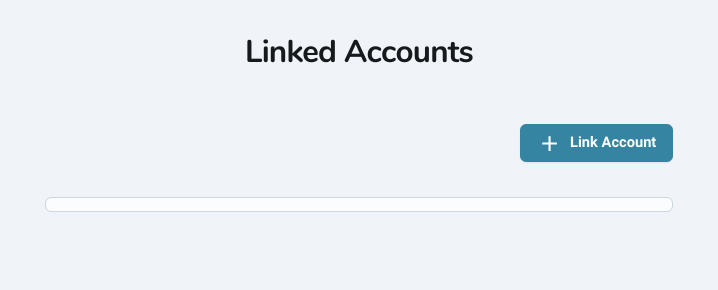
3.) The first step is to link your Stripe account. You can do this by clicking on the link under 'Getting Started' or on the sidebar under 'Data Sources' > 'Linked Accounts'. There you will see an empty list and you will click the button 'Link Account'.
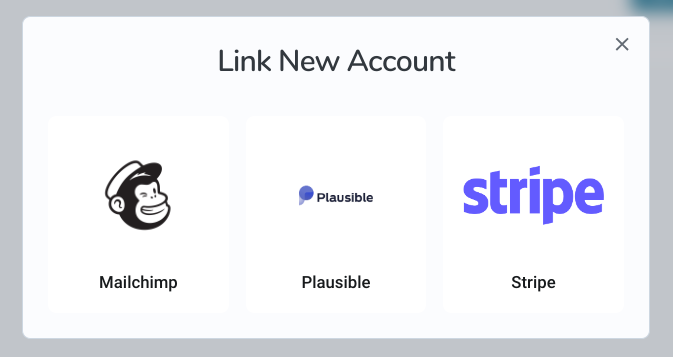
4.) When you click on the 'Link Account' button, you will be prompted to choose which type of account you want to link. In this case, we will select Stripe.
5.) You will then be asked to enter a Stripe API Key.
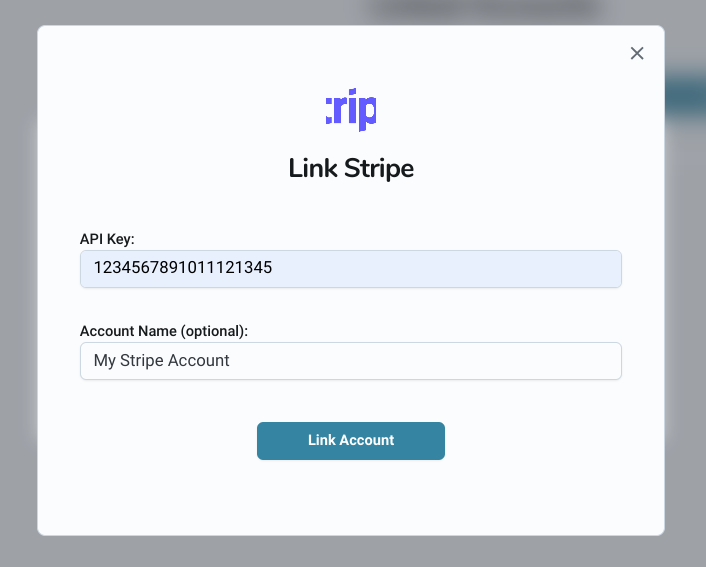
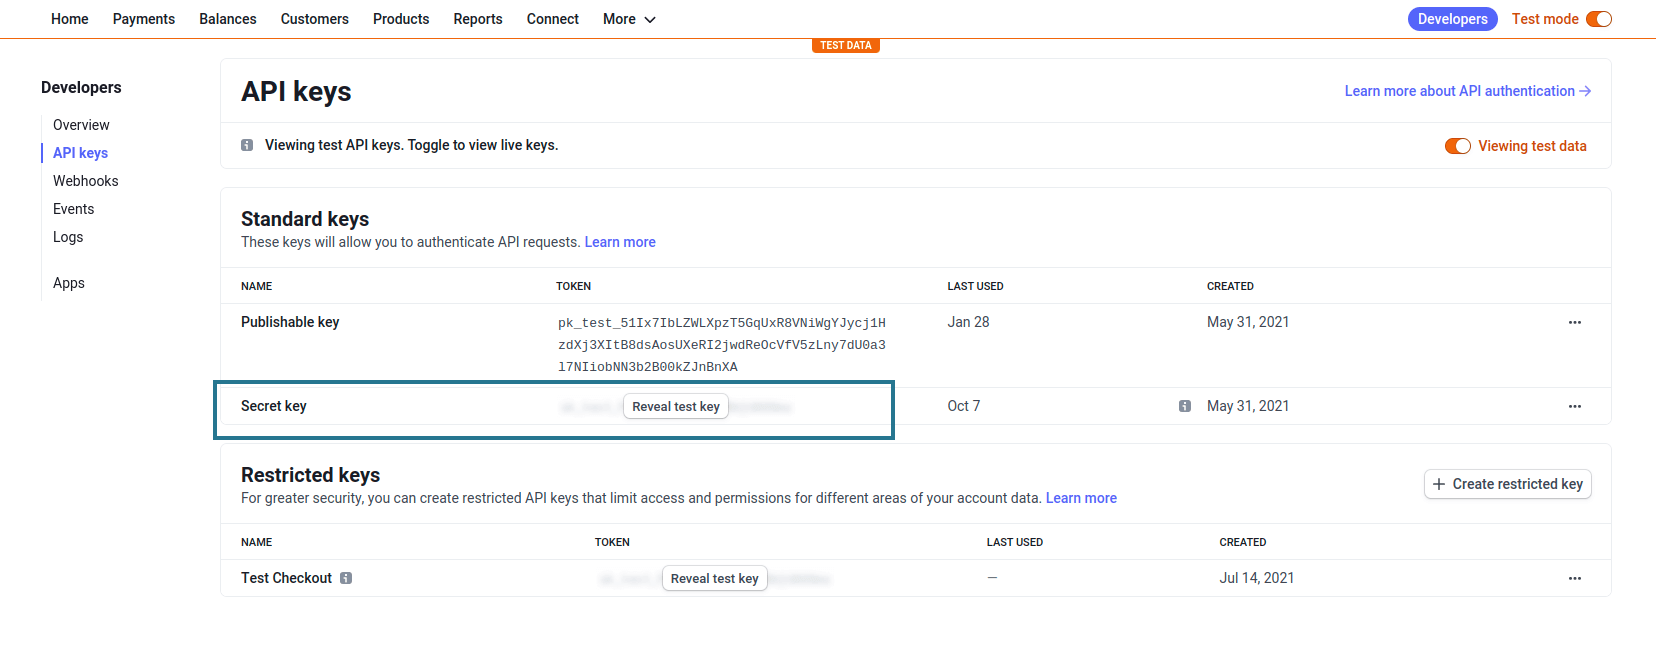
The Key refers to the API Key that you can find in your Stripe dashboard. To find your API Key, go to your Stripe Dashboard and click on Developers and then API Keys. You will find your API key where it says Secret Key.
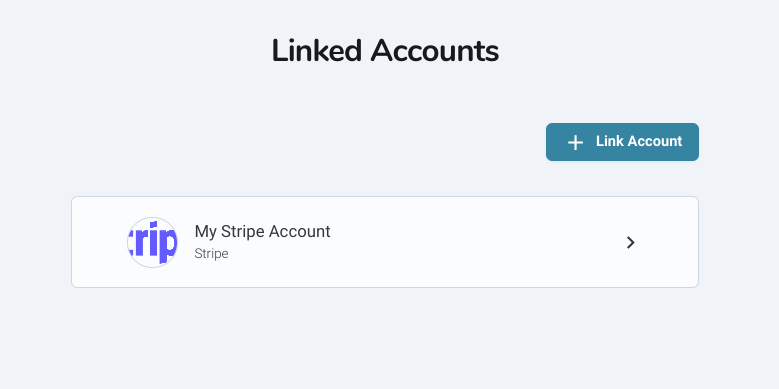
6.) After completing the previous step, you will see that your linked Stripe account will now show up on your list of linked accounts.
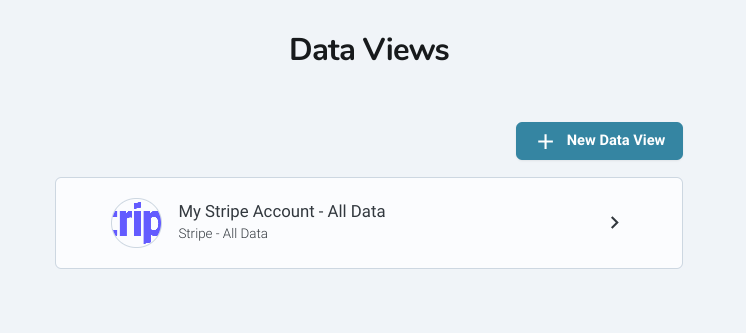
7.) When your account was linked, it automatically created a Data View that you can see by going to 'Filter and Group' > 'Data Views'. We don't have to do anything here - everything was set up for us automatically.
8.) This data view was also automatically added to your Looker Studio Connector. You can see this by going to 'Use Data' > 'Connectors' and clicking 'Manage Connector'.
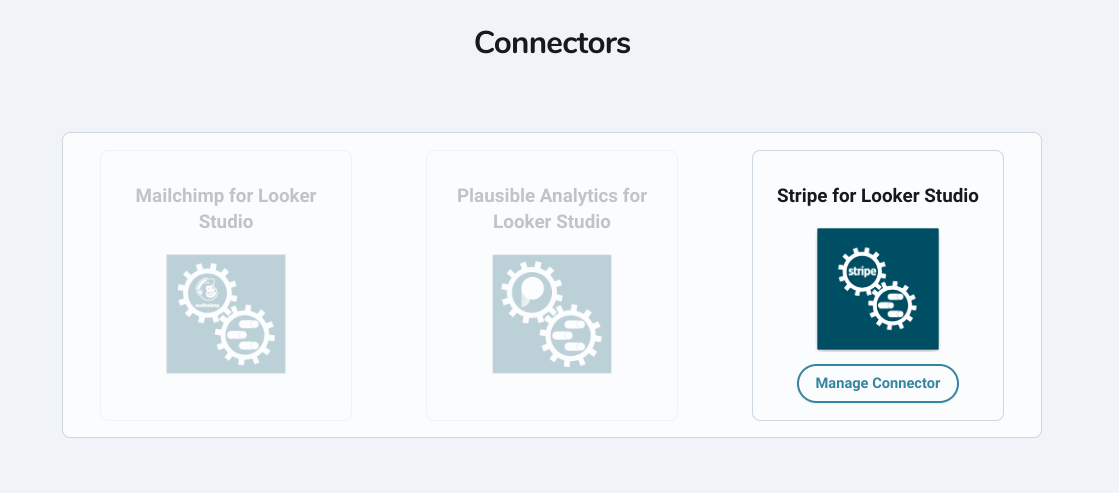
9.) You will now see that your data view is available in your connector. Once you have multiple Data Views, you can choose to add or remove them from your connector on this screen.
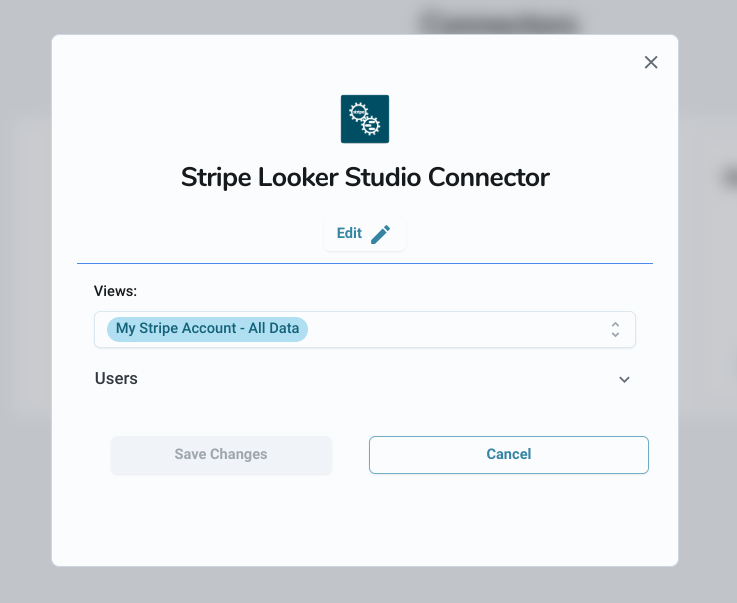
10.) While we are on the Manage Connector screen, let's look at our users. You can give anyone access to the connector by simply adding their Google Looker Studio email address here. By default, the email you signed up with will be added as your first user.
IMPORTANT: If the email address you created your account with is not the email address you use for Google Looker Studio, you need to change it here.
11.) You are now ready to use your Stripe data in Google Looker Studio. To use the connector, you can either click on the Stripe Connector icon on the Connectors screen in the Epilocal dashboard or you access it directly here. It is also available in the Looker Studio Connector Gallery.
Using your Stripe data in Google Looker Studio
1.) Authorize the connector to access your Google account. If you have multiple Google accounts, be sure to select the Google account that you use with Looker Studio.
2.) Once you've selected a data type, you will then see a drop-down list where you can select your newly added data view.
3.) Now you're all set! Just follow the remaining prompts and you will be able to access your Stripe data in Google Looker Studio.